Living Room scene in Unity
Oct 29, 2017 6 min read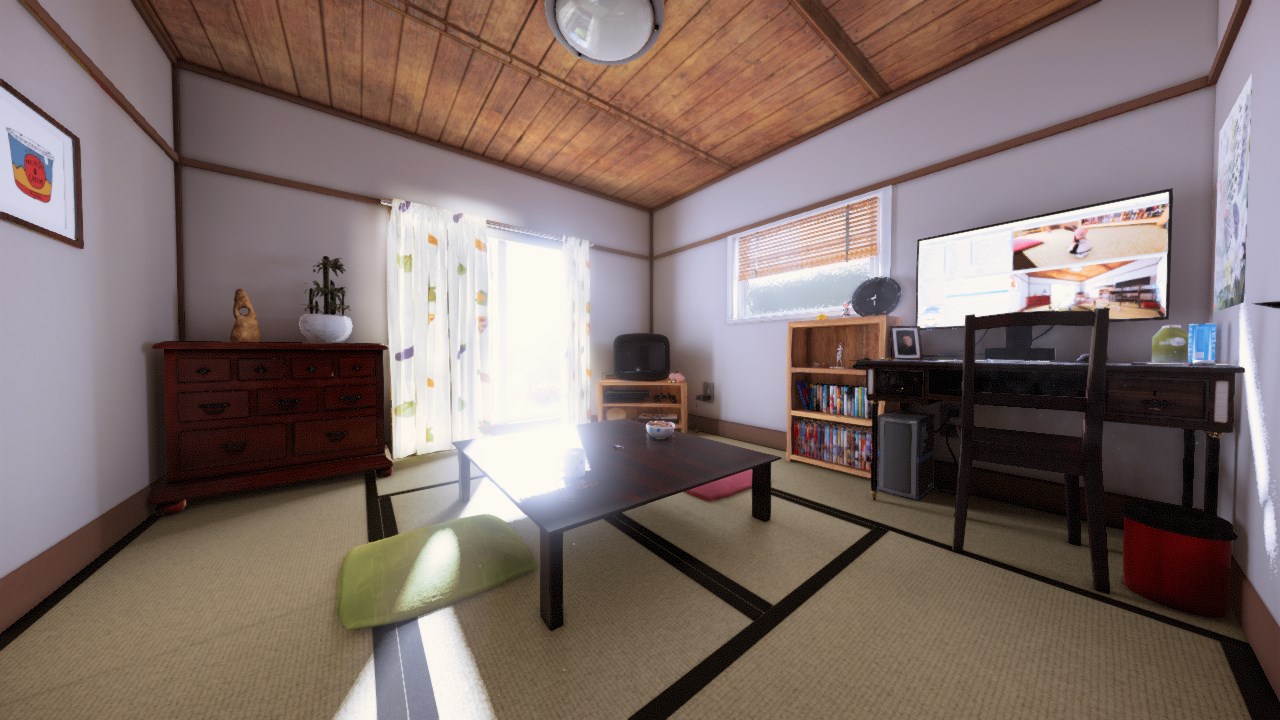
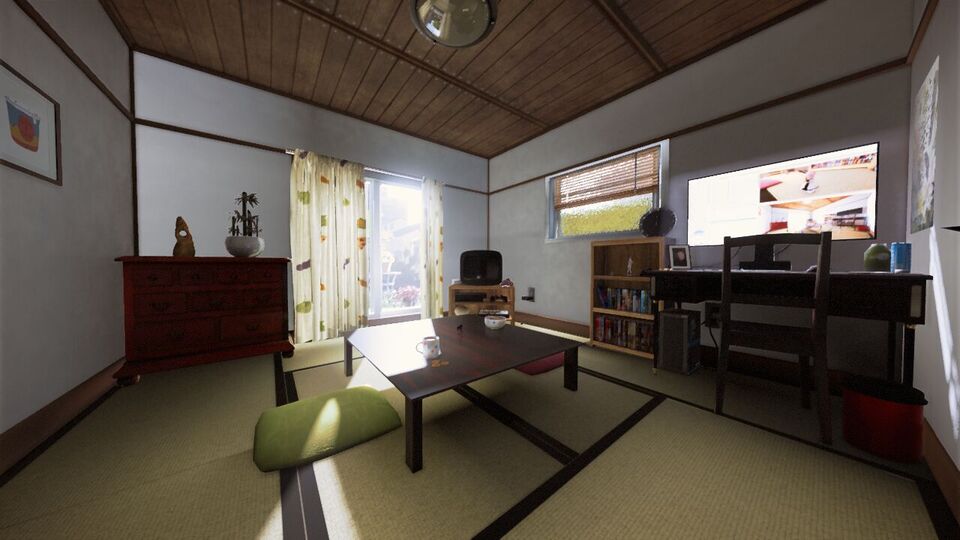
A living room scene put together to learn about working with PBR 3D assets, level design tools, lighting, shaders and post-processing. Made in Unity 2017 and Blender.
Here’s a collection of things I learnt and made over the course of the project.
[This article assumes basic knowledge of Unity and 3D games]
In my previous project, Cute-Platformer-Game, I was constantly frustrated at my lack of 3D knowledge. Even if I was able to research things one at a time, I often had no idea how everything fit together. Which is why I started this.
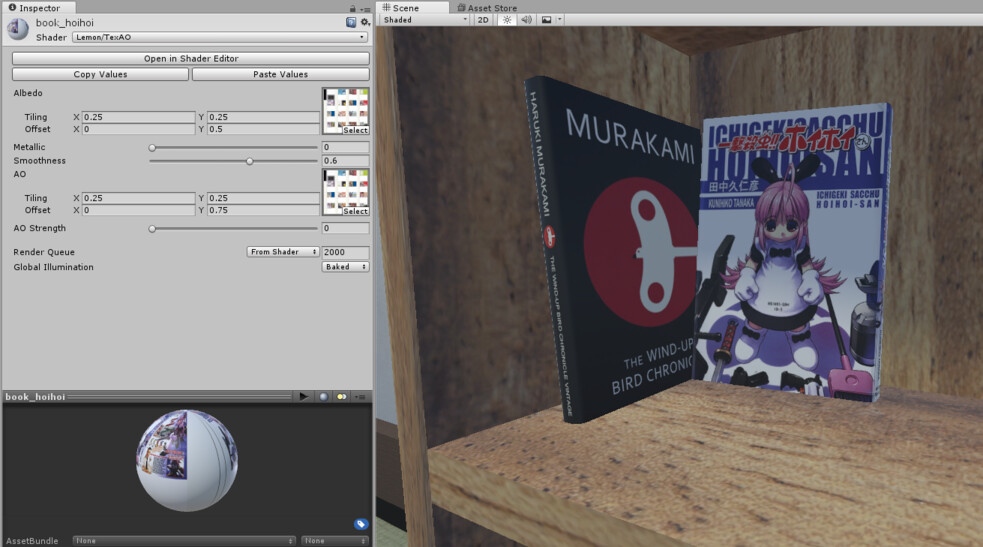
I reused my tiling shader from my 3D character’s facial expressions for the books.
This project was inspired by the manga, Hoihoi-san, set in a near-future where households owned little bug-exterminating robot dolls.
Time-lapse
From humble beginnings.
Working with PBR Assets
PBR, or Physically Based Rendering, was a new workflow in Unity that allowed for more realistic 3D graphics. Unlike previous shading techniques, PBR is centered around the concept of energy conservation, i.e objects can not be brighter than the light shining on them. This allowed for more consistent rendering throughout the scene whether the materials be plastic, metal, rough or smooth.
I used a “learn from examples” method when it came to learning about the modern PBR workflow so I integrated free models found online while making the appropriate fixes needed.
Meshes
The curtains and window blinds I downloaded had over 1 million polygons.
Some models weren’t optimized for real-time games.
I fixed these using either by manually retopologizing the mesh or using a more automated method like Blender’s Decimate modifier.
Textures
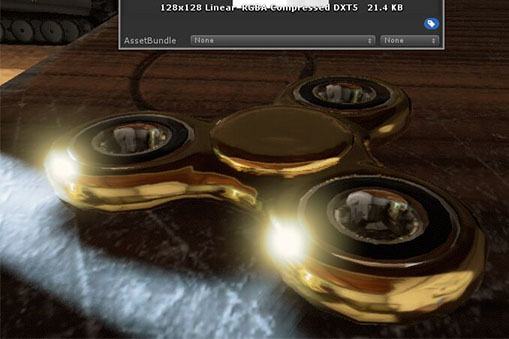
PBR brings everything up to a new level of shiny.
Many models were created before Unity added PBR support so I remade the textures (based off references from resources like FreePBR.com).
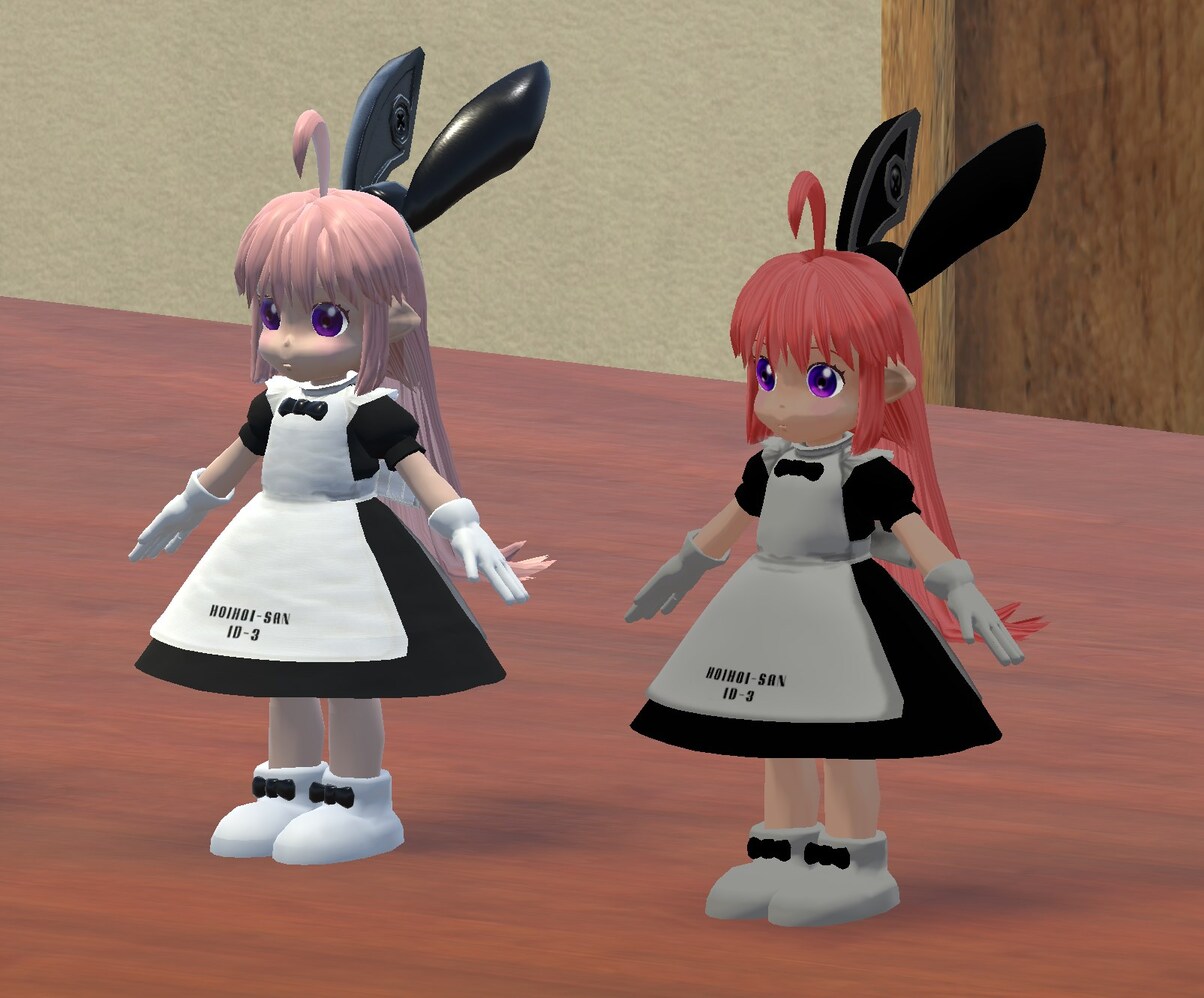
Toon Hoihoi-san model by Niconico user monomono
Some models weren’t even made for realistic styles at all.
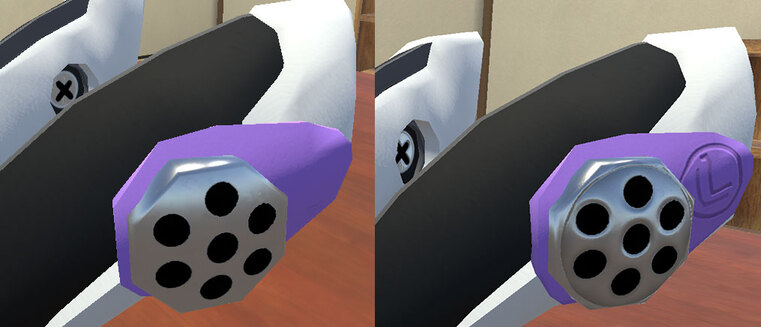
I added extra detail to a lot of the models using bump/normal, ambient occlusion, and tiling detail maps.

I used the free software AwesomeBump to generate all the detail maps quickly. This method is not as realistic or “proper” as making the textures for PBR from scratch but it was convincing enough for most of the models.
Character model rigs originally created with the MMD 3D format were ported to Unity using Stereoarts’ MMD4Mecanim tool.
Lighting/Shadows
Baked Lighting
I originally explored the idea of using real-time only lighting. Unity had just released their 2016 Adam demo which came with experimental real-time area lights which would have been perfect for the large patio door and window.
Unfortunately it didn’t work with my scene, guess it was experimental for a reason.
Next I tried Unity’s new experimental progressive lightmapper, designed to speedup bake times. But uh, I guess this was also experimental for a reason.
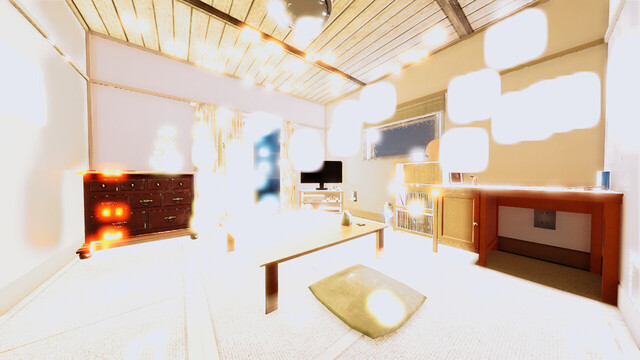
Scene lit using only baked area lights. Mmm, that’s smooth.
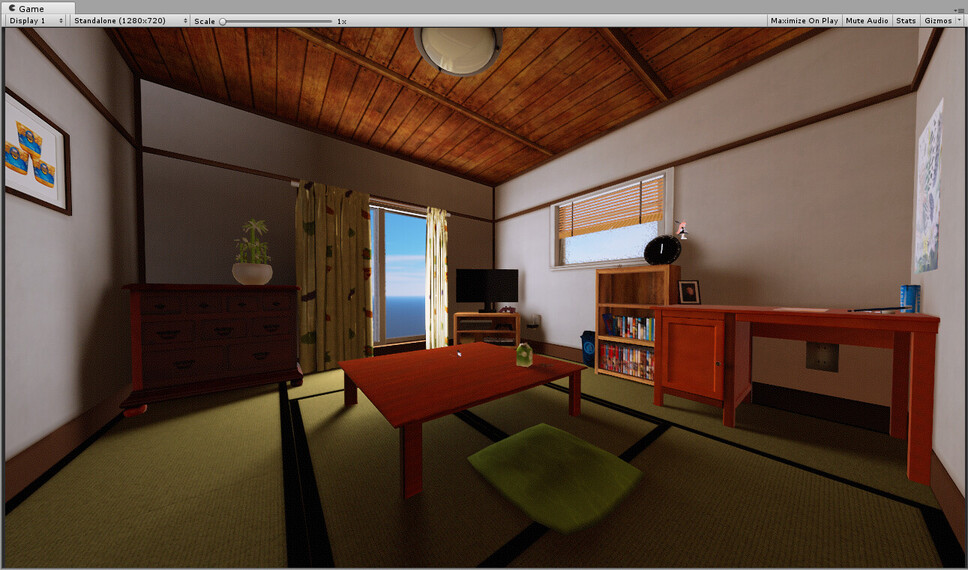
Ultimately I settled back on Unity’s mature Enlighten light baker.
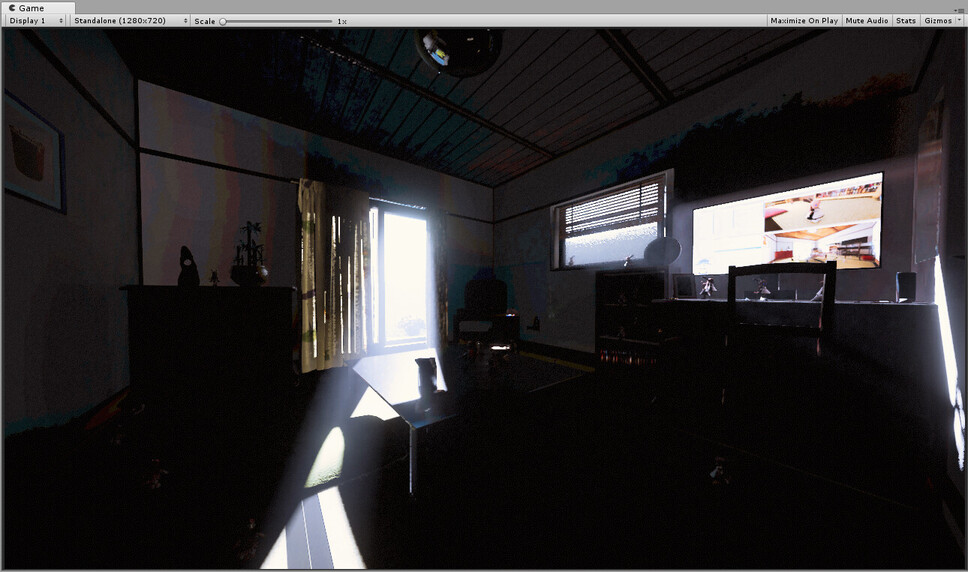
Scene lit using only the Sun’s directional light.
Scene lit using no lights at all, only the skybox HDRI. Surprisingly decent results.
After much experimentation (and waiting for bakes to finish) these were the settings I settled on:
- Using a combination of area lights, a directional Sun light, as well as a HDRI skybox
- Fidelity maxes out at a lightmap resolution of 10242
- Too low and I got artifacts. Too high and I got artifacts.
- Disable Final Gather setting
- Didn’t work for me and broke the lighting.
- Exclude smaller props from the baker
- They did not benefit from baked lighting, had artifacts, and only took up lightmap space.
- They were lit using pre-computated light probes instead.
- Bounce lighting at 0.5 struck the right balance.
- The bounce lighting and colors off objects gives the scene an extra boost of realism but too high and walls started to look like they were glowing and that light was leaking through.
- Exclude the windows from the lightmapper
- Dealing with the transparent glass resulted in extremely noisy bakes.
- Set ambient lighting to some shade of white
- I was using a sky-horizon-ground gradient at first which seemed like the right thing to do, but I did not realise ambient lighting was what was adding a weird color cast to everything.
- Use physically based light values
- I did not learn about this until right at the very end but there are measured metrics for light sources you can find online.
- My original Sun values were wrong. I picked a random slightly-blue light which wasn’t the same as the color from a black-body light source plus it wasn’t bright enough either. This gave my scene an artificial look.
- Disable cascading shadowmasks
- Being able to see across the entire scene meant the transition seams between shadow LODs were extremely obvious
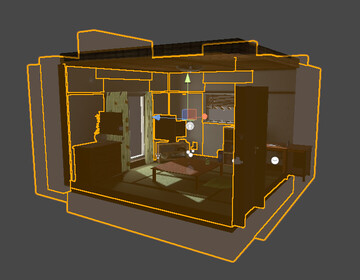
I was getting light leaking through corners so I placed cubes around the scene, tagged to only be visible to the lightmapper.
Volumetric Lighting
I also added some volumetric light rays using the Hx Volumetric Lighting plugin.
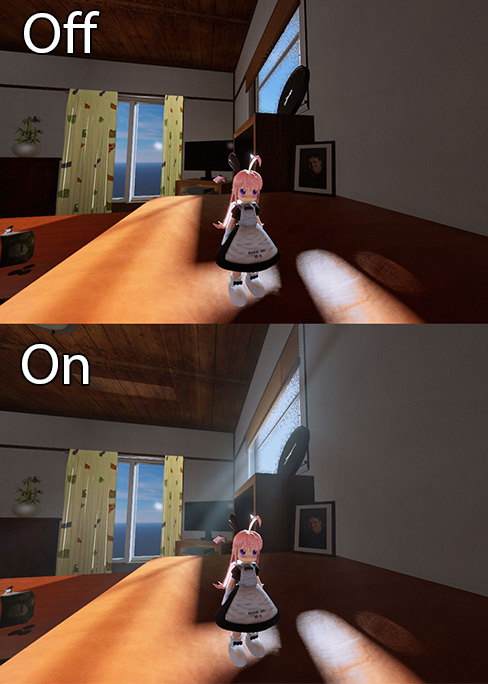
Contact Shadows
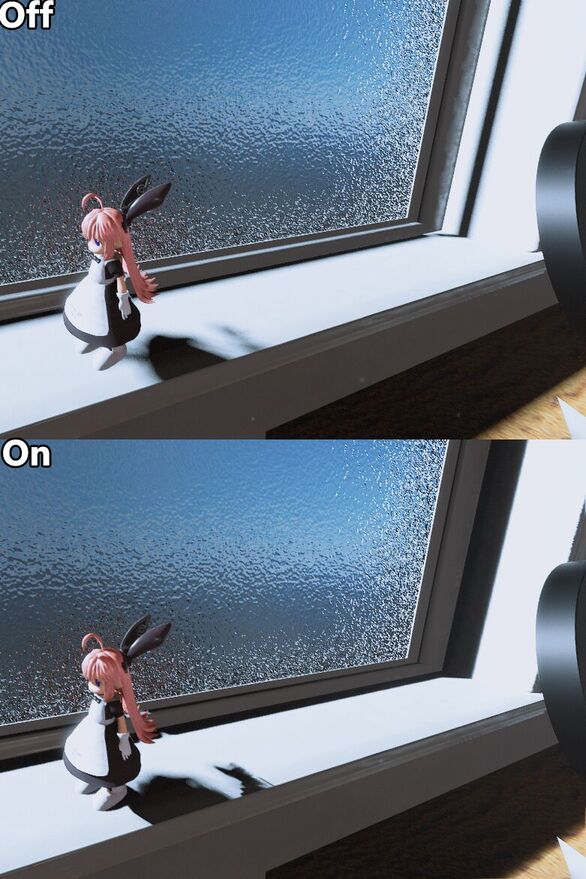
Take note of the shadow at her foot or the edge of the window pane
I was also playing with the Unreal engine at the time and I noticed they had a feature that Unity didn’t. Contact shadows fill in the gap at the point of contact between 2 objects caused by the lack of resolution in the camera’s shadow mask. It becomes incredibly noticeable once you learn about it.
I used the Asset Store plugin Next-Gen Soft-Shadows by Psychose Interactive Inc. for this.
Custom Solution for Ambient Shadows

The problem.
The final result.
I wrote a separate article for how I solved this:
Custom Ambient Shadows for the Living Room scene in Unity
VFX
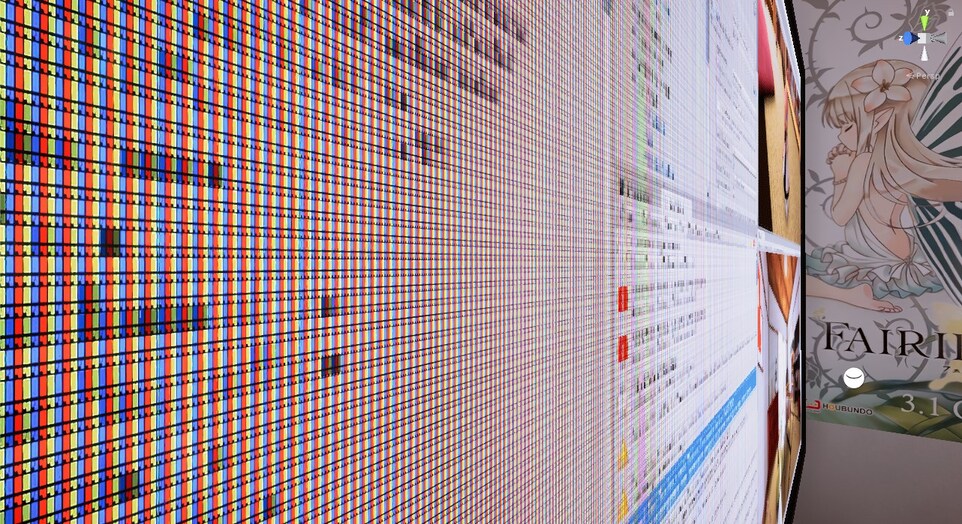
LCD screen shader effect
I wrote a separate article featuring the bits of VFX I made:
VFX Collection for the Living Room scene in Unity
Editor Tools
I made a few scripts to help me put the scene together in the Unity editor.
I uploaded them to Github, free to use: Homu-Editor
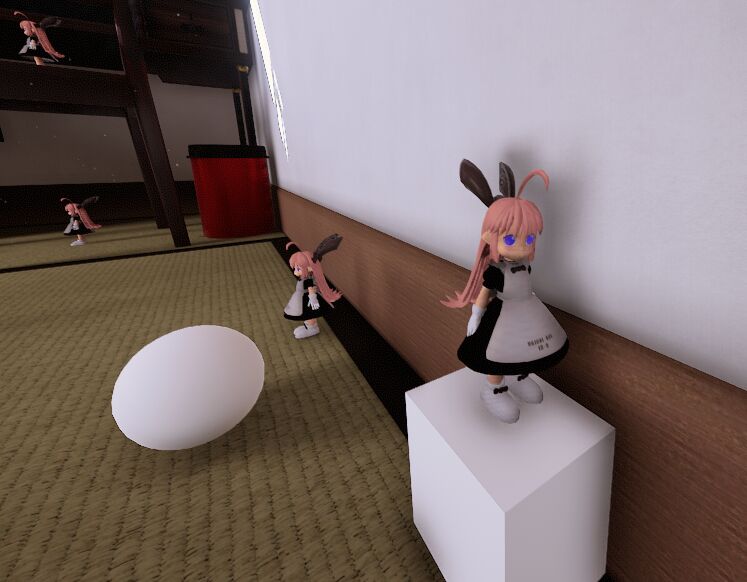
Simulating Physics
This script was one of the more useful tools. It simulates physics within the editor.
I used it to quickly place objects onto the floor naturally using gravity. It saved me from having to manually line the objects up with the ground for each one.
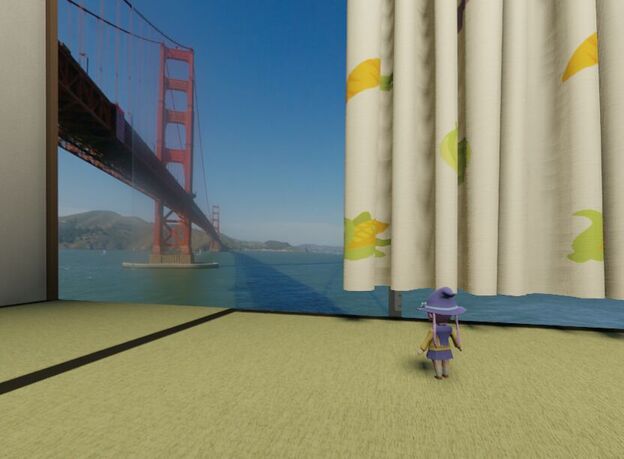
Outdoors

Not much to say on the technical side but I thought my little garden came out well.
I used some clever placement of objects to hide texture and lightmap seams.
I used GPU instancing for the grass blades to maintain performance.

Background elements used the low poly models with the simplest lighting shaders.
Closing Thoughts

I worked on this on and off over the course of a year. Perhaps longer than I should have, it wasn’t a particularly focused effort or anything, just occasionally trying to use each piece of the room as an opportunity to learn something new.
Still, the goal of this project was to become more comfortable working with 3D environments and that’s what I had achieved. I’m pretty satisfied with how it turned out.