My First Character Model
Jun 22, 2016 8 min read
Blog on my first attempt at 3D character modelling for the Cute-Platformer-Game.
[This article assumes basic knowledge of Unity and 3D graphics]
Melon the Witch was going to be the player character for the Cute-Platformer-Game project.
To re-quote my previous article on CPG:
Cute-Platformer-Game was a project I was working on back in 2016 with a team online.
The project was cancelled after my team disappeared, never to be seen again. I continued working on it a bit but ultimately, the scope was far too large for our level of experience. Looking back, it was a bit naive to think a bunch of beginners were going to create the next Mario Odyssey.
A common tale in game dev.
Note: I’m writing this in 2022 so I’m mainly going off old screenshots to remind myself of what I did.
Preface
While I took up the mantle in the team, I am not an artist at all. None of us were.
I barely knew anything about how 3D worked in general. This started off as an advantage, it meant we went into this project with very low standards. We were aiming for the low-poly style that was pretty trendy at the time which would at least help keep the scope down.
Though by the end of this I had learnt enough about 3D that my own ambitions quickly outpaced my skill. I would settle for nothing less than Pixar.
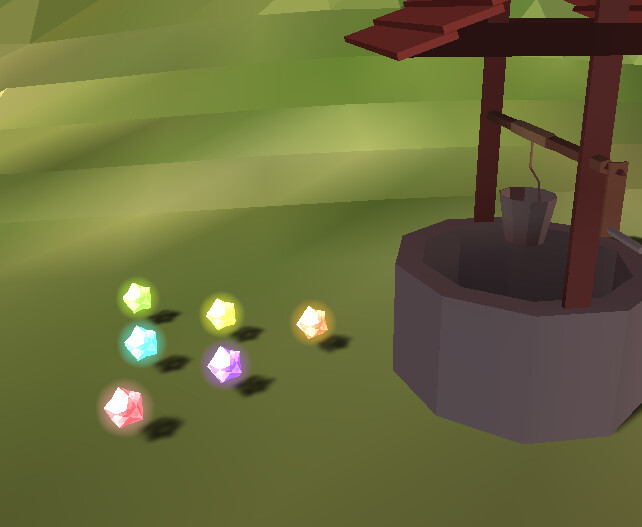
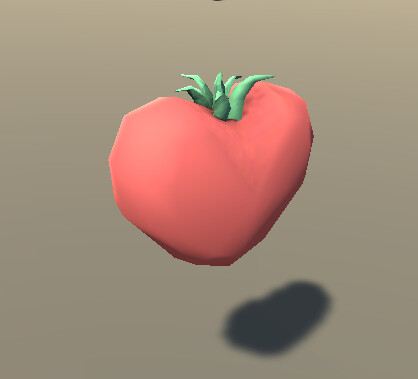
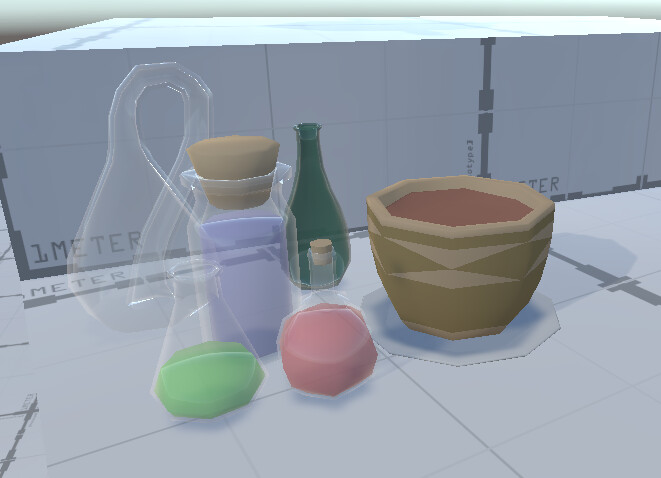
Thinking back, things might have gone smoother had I started with some tutorials, and made a doughnut first or something, but I jumped straight into Blender instead. Here’s what I did make before I jumped into the complex world of character modelling.
References
To get a rough idea of how to start I looked for low-poly character tutorials that seemed to use the most non-artist friendly techniques possible. I referenced these the most:
- Cherylynn Lima’s Low-Poly Human Model Tutorial
- Peter Massive’s Blender Tutorial
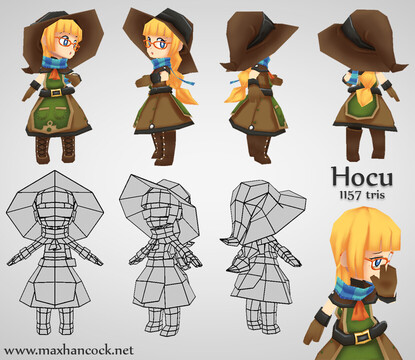
- Max Hancock’s low-poly characters on his ex-Sketchfab in wireframe viewmode
Concept
I was reading the manga, New Game, at the time so Melon was inspired by its protagonist, Aoba.
I tried to keep the design simple as it was my first character model.
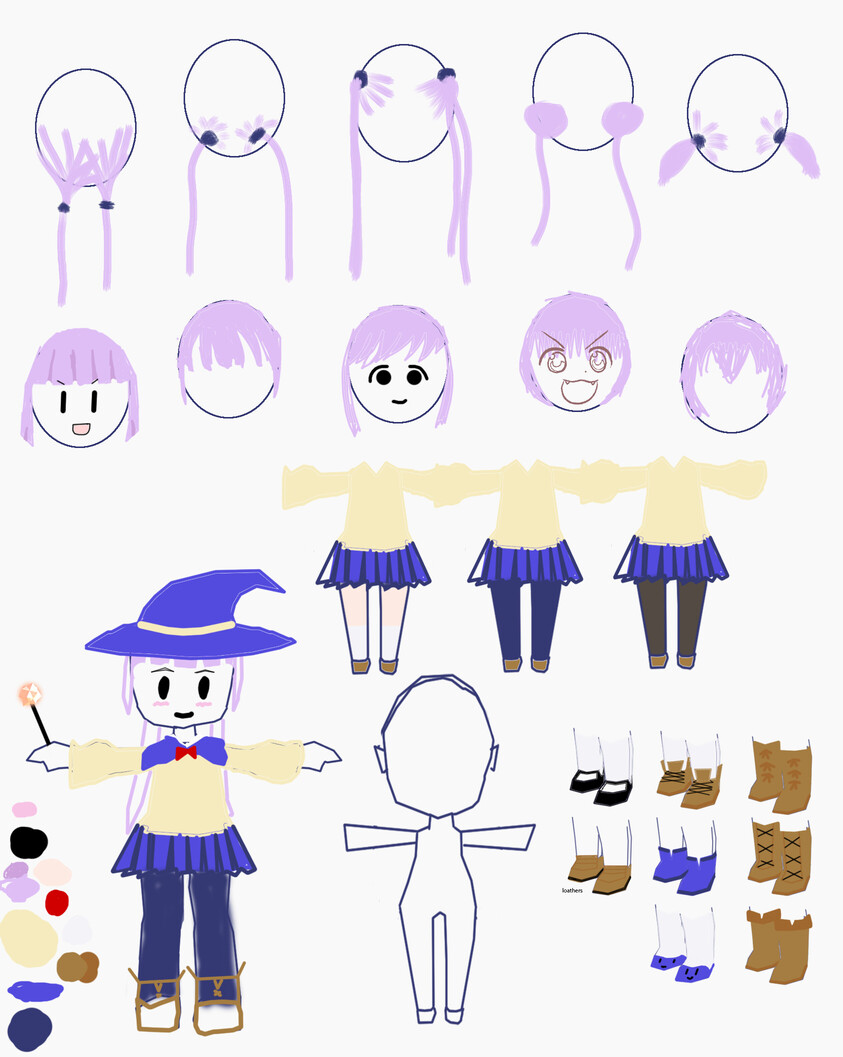
Behold. Programmer art.

Hat and cloak brainstorm.
Modelling
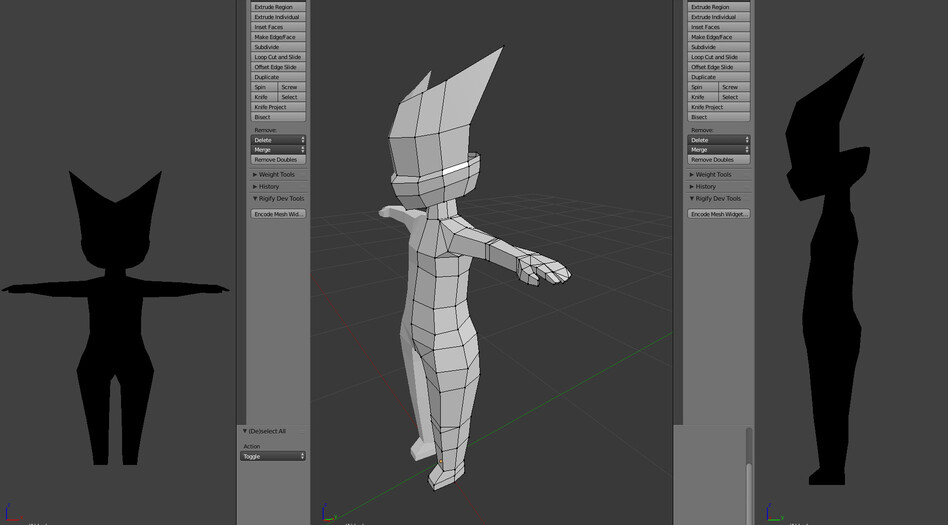
I pretty much exclusively used box-modelling. The technique where you start with a cube mesh and “sculpt” it by adding loop cuts and extruding faces.
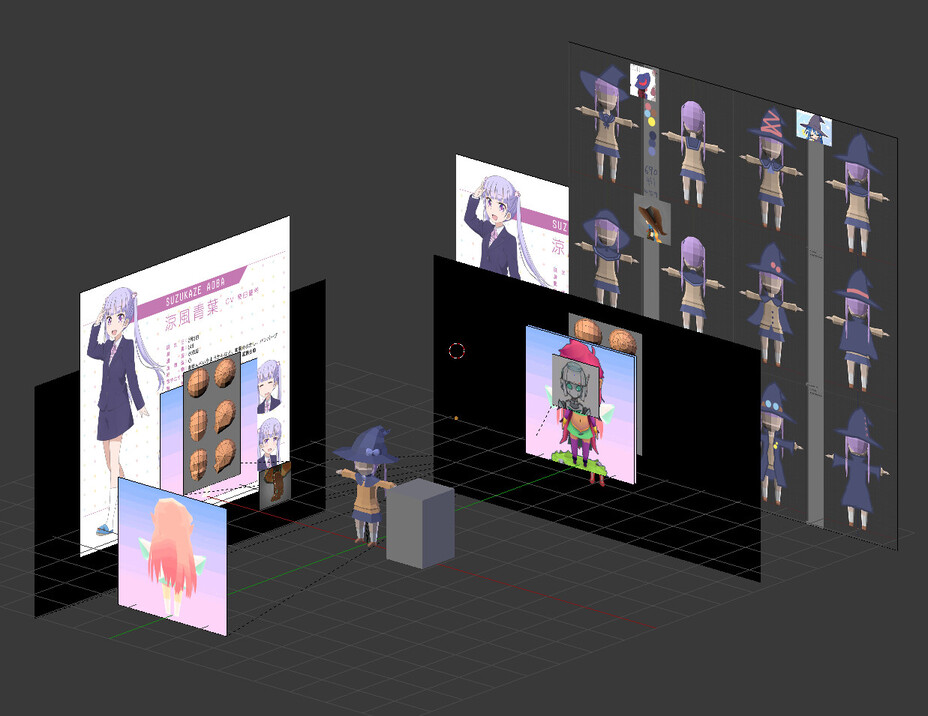
A lot of references were used to get all the shapes right.

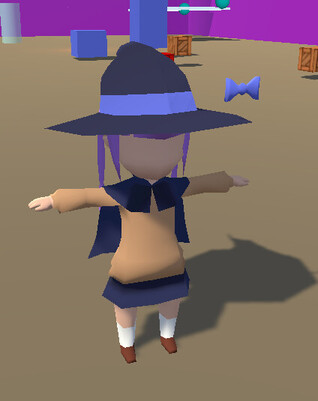
Initial Unity import test.
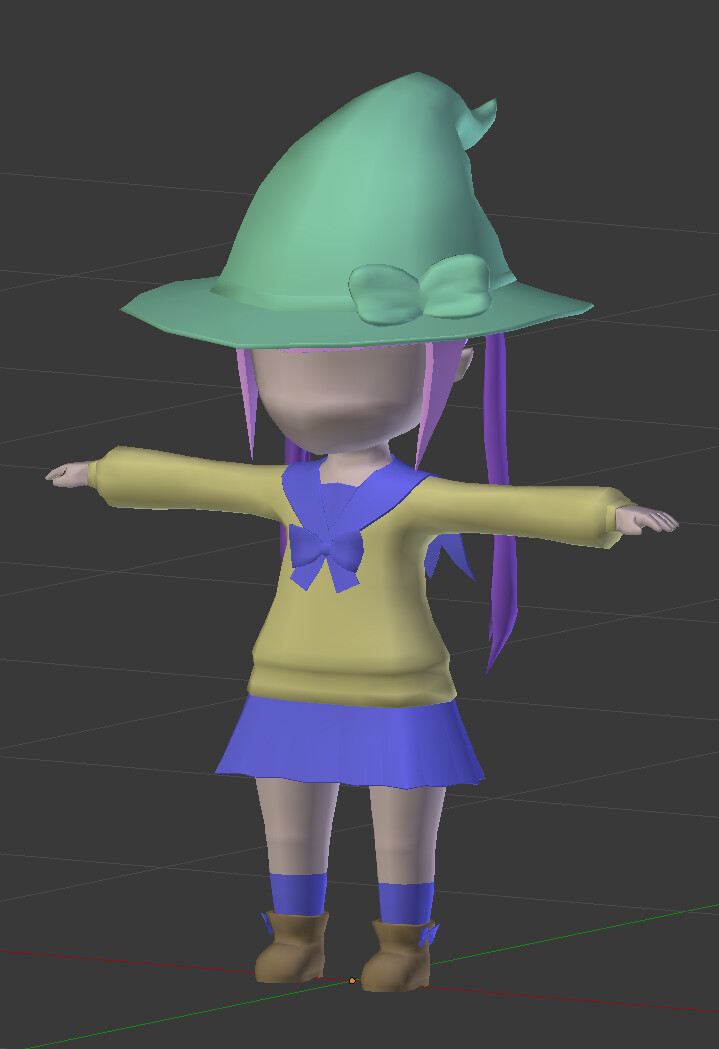
My teammates had left at this point so I started to experiment with different art styles.
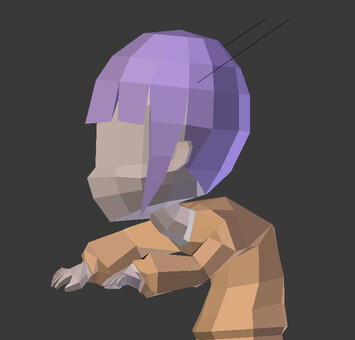
I was no longer content with the flat-shaded low-poly look. EVERYTHING MUST BE SMOOTH.
The feature creep begins…

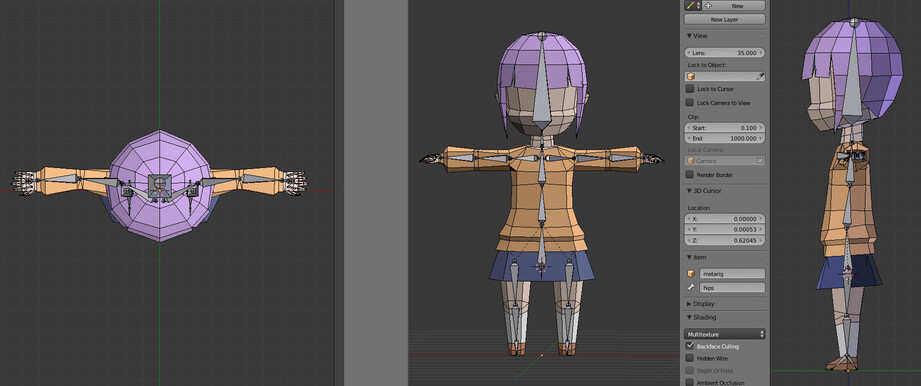
I even went beyond the tutorials and added fingers (after much sweat and tears).
Her twin-tails are made from 2 ropes on top of each other.
As they clip in and out of each other when animated, I was hoping to give the illusion of actual hair.

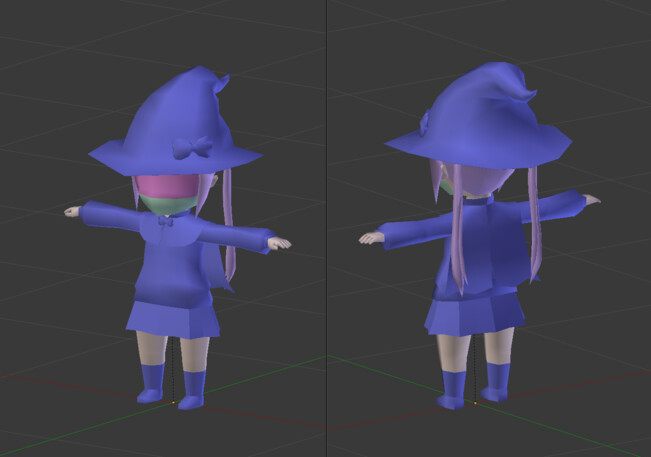
The last screenshot I had before moving onto rigging.
I fixed that long torso later on.
Rigging
I used the Blender’s Rigify for the main skeleton.
I manually added bones for the other dynamic pieces of the body like her hair and skirt.
It’s like a rigging rite of passage to get distracted while making the model dance.


The rigging part went smoothly. The skinning part took some experimentation to figure out.
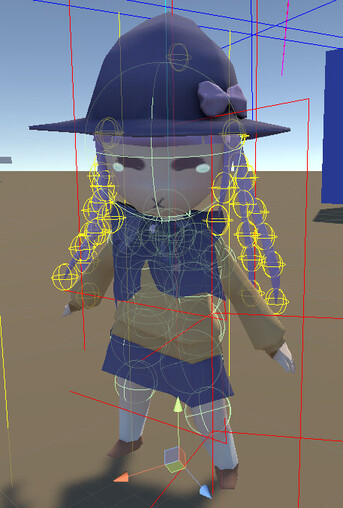
Kill me
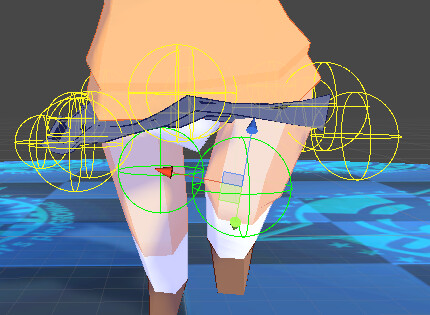
Colliders too thicc
I initially tried the jiggle bone technique for the dynamic parts of the model.
This worked well enough for the hair/hat but the collision detection wasn’t robust enough for the skirt and cape. It didn’t help that the jiggle bone system I was using (Unity’s Unity-chan package) only supported sphere colliders.
After a lot of back and forth between Unity and Blender, re-doing the skirt rigging over and over, trying every permutation possible, I decided I needed a different approach.
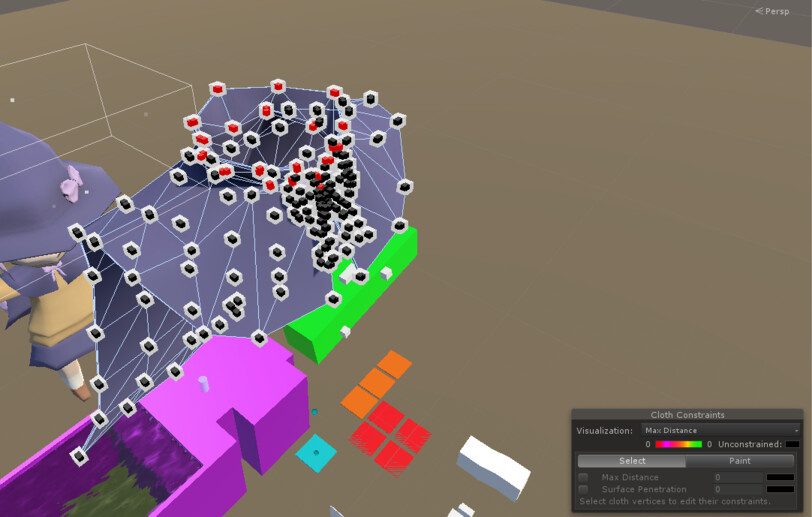
Next I tried Unity’s Cloth simulation component.
Painting the weights with a mouse wasn’t the easiest task. Scaling her up into a giant helped.
And unlike Unity-chan’s jiggle bones, the Cloth component supports capsule colliders too for the limbs.
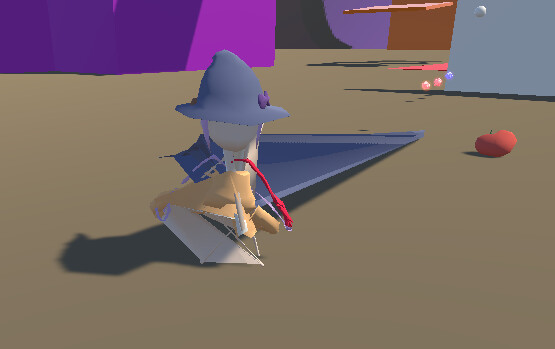
I must go, my people need me…
More experimentation again just trying to get things to work…
Starting to see why some studios hire a guy to do nothing but rigging all day.
The Cloth sim for the skirt/cape worked better than the jiggle bones but still not to a satisfactory standard. The collision still isn’t very robust. The cape in particular would often clip right through to the head and get stuck on the wrong side of the body.
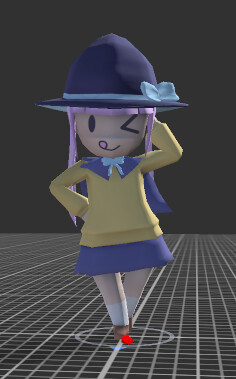
Final result.
Jiggle bones works pretty nicely for the hat and hair. It could use some wind/turbulence so her hair doesn’t look so stiff while she’s running but I’m glad my idea to use 2 strands for each side of the hair tails ended up looking alright. The wobble of the hair also looks pretty cute.
I had planned to one day look for a third-party solution off the Asset Store for the cloths but I never got round to it before I had stopped working on the project.
Never make me rig ever again.
Texturing

Starting off with UV mapping.
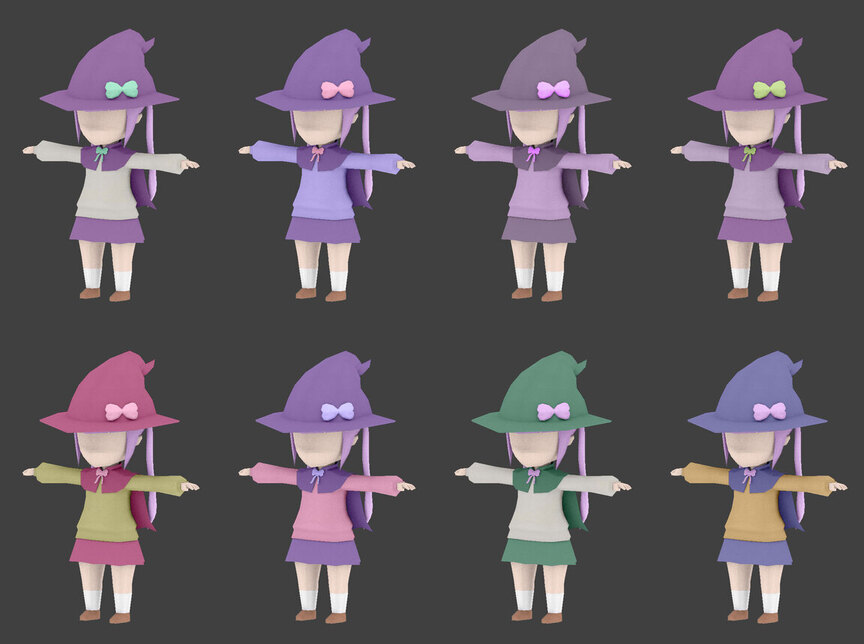
The many flavors of Melon.
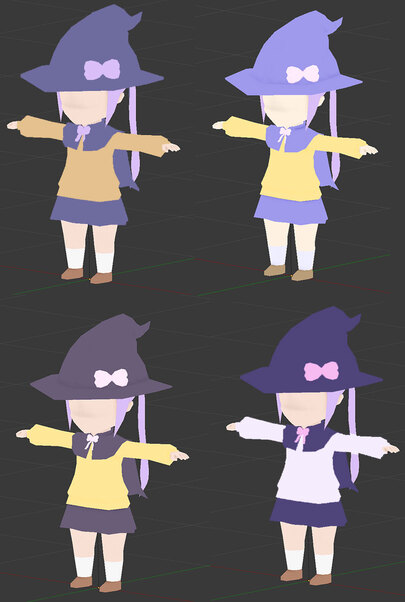
I used Adobe’s Color Tool to come with the color palettes.
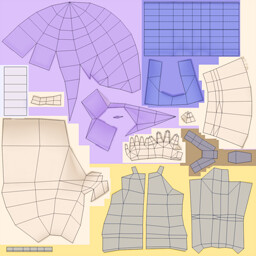
Exporting the UV map to Photoshop to use as a guide. Like an adult coloring book.

I had forgotten I added this blush until I saw this screenshot since it’s not really visible in the third-person camera. Cute.

Abused witch
Since I’m no longer going for the low-poly art style, I started looking at how games add detail to their models. This led me to learning about the PBR workflow.
Specifically, I started looking into creating Ambient Occlusion and Normal maps.
The right workflow is to use the high-poly sculpt the artist had made but I never made one of those. So, what if I faked one using a Subdivision Surface Modifier? Would it even work?
I used the free xNormal tool for baking detail maps.
The guide in the Crytek Engine manual with best practices really helped. Even then, it took many rounds of experimentation to get something usable.

Melon let herself go
As part of the baking process you create a “cage” where the rays get projected in from.
A problem with using automatic subdivision to fake a high-poly model is that some edges (like her fringe) got rounded and no longer matched the shape of the low-poly model.
I used Blender’s Weighted Edge Creases marker to maintain the shape.
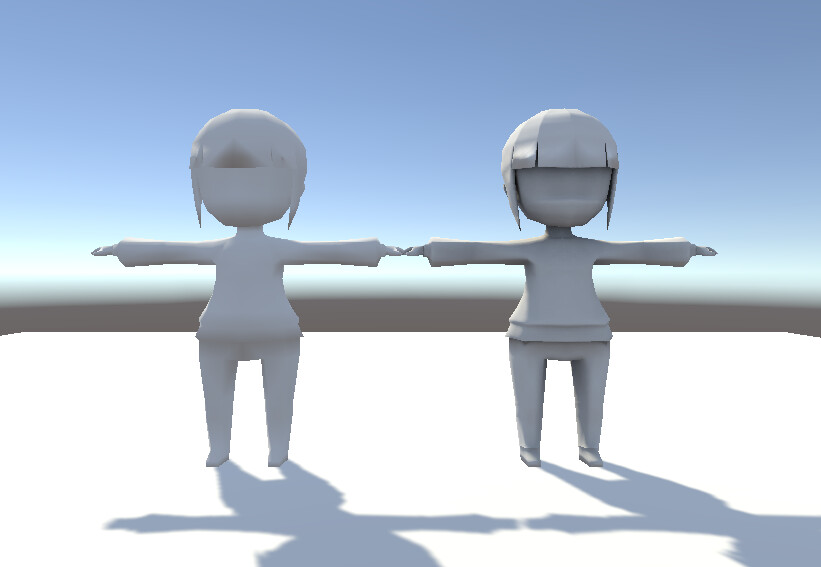
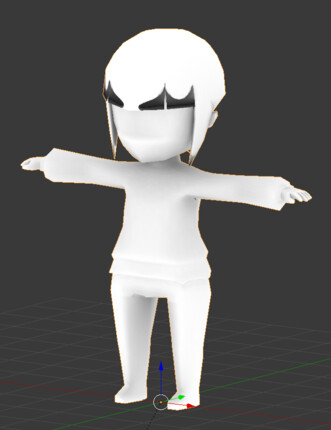
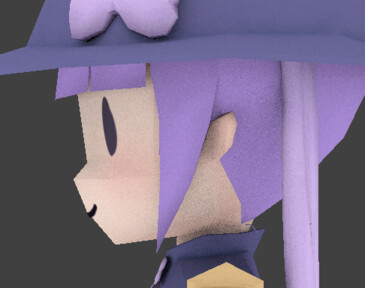
So did the Subdivision Surface Modifier hack work? Surprisingly, kinda!
Above are 2 exact same models, but the one of the right has an AO and Normal map.
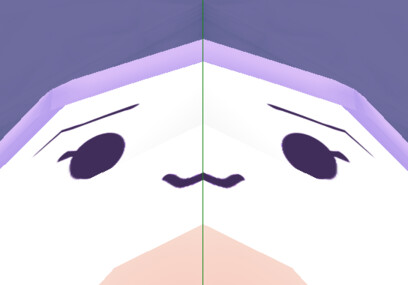
Next to figure out how to add a face.
I started by assigning material groups for skin, cloth, eyes and mouth.
The face is actually a separate mesh on top of original model.
This was needed since the original model is mirrored.
Nyoron~
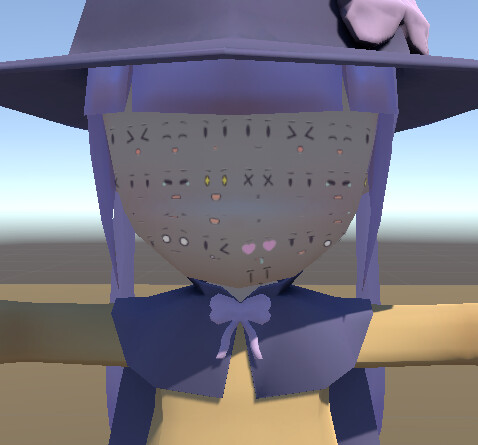
All the facial expressions are on 1 tiled texture sheet.
Then by scaling and offsetting the UV Map I can swap expressions out via a script.
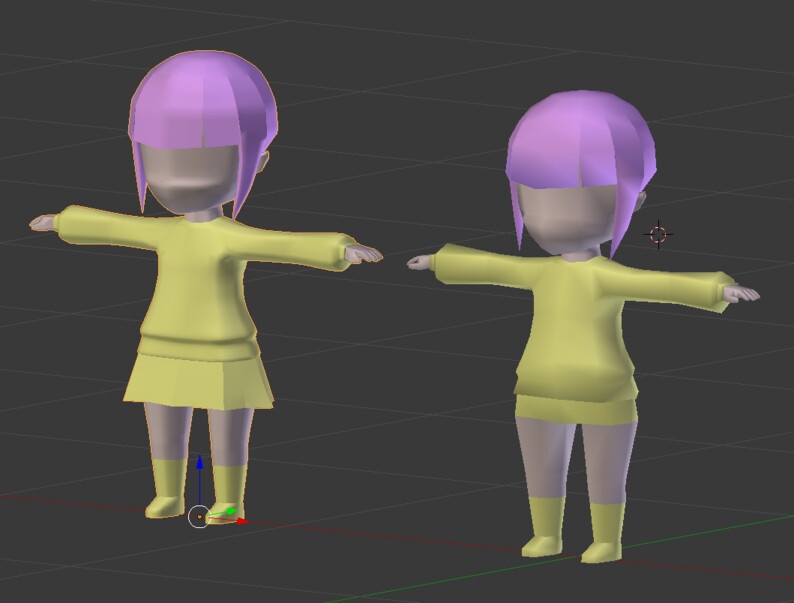
After re-doing the ribbons, here’s the final V1 model.
Honestly, for my first character model, it’s surprisingly not horrifying. Good job, me.
Animation
I took this opportunity to start over in a new project. I had made the character controller on top of Unity’s Rigidbody however I was spending more time fighting against it vs time it was saving me.
Plus, there was just a lot of stuff I wanted to rewrite, now that I’m more experienced, to make it cleaner, more robust, and have better support for gamepads.
I tried working with Unity’s Character Controller module but its collision detection and resolution just wasn’t very good. From searching online, it seemed like a known issue.
Eventually I settled on Philippe St-Amand’s Kinematic Character Controller, who incidentally, is now making the official Character Controller for Unity’s DOTs workflow.
For the animation, using the standard Animation Graph workflow seemed needlessly complicated. Instead I played the animations directly via a script whenever the character controller changed states. This worked pretty well.
Wand
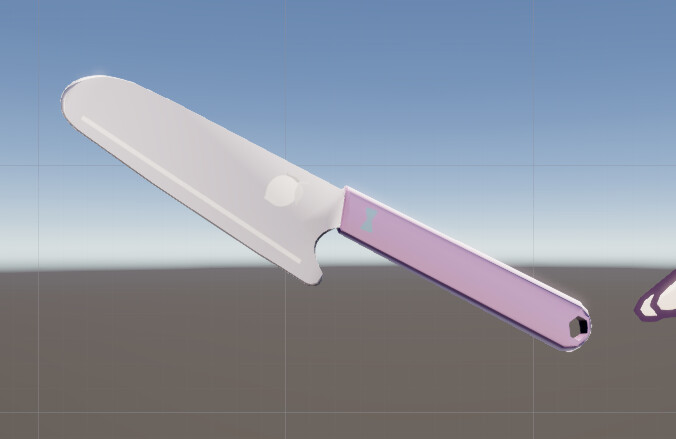
Taking the lessons I had learned along the way, making the wand went almost too smoothly. It was a nice change of pace. I never got round to making her hold it in-game.
V2?
The more I learn, the higher my standards rise…
Anyway, I went back to redo the model. More detail, cleaner topology. The skirt might’ve been workable but the cape had to go. The cloth sim on it caused too many problems.
I never got round to finishing this. Some personal circumstances broke my habit of working on this project, and when I tried to get back into the groove I realised the scope on this project was just far too large. Especially when I had to spend so much time researching and experimenting with every new step I took.
I shelved this for now, to work on something much smaller in scope: Living Room Project