Custom Ambient Shadows for the Living Room scene in Unity
Oct 30, 2017 4 min read
My solution for real-time ambient shadows for dynamic characters for my living room scene.
[This article assumes basic knowledge of Unity and 3D games]
My living room scene was lit with a directional light and an area light. The directional light only directly shined on a small part of the room while Unity’s area lights (in 2017) were baked only (not real-time).
The lack of shadow meant my character never truly felt grounded in the world.
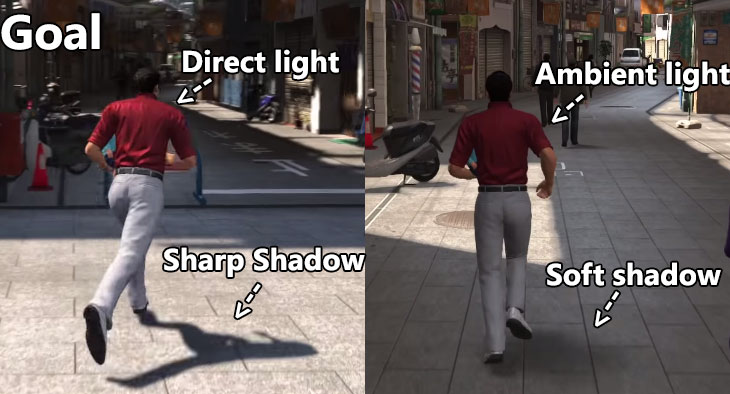
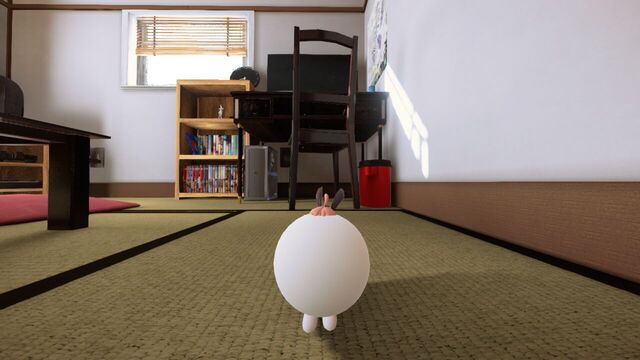
The goal (Yakuza 6 for reference)
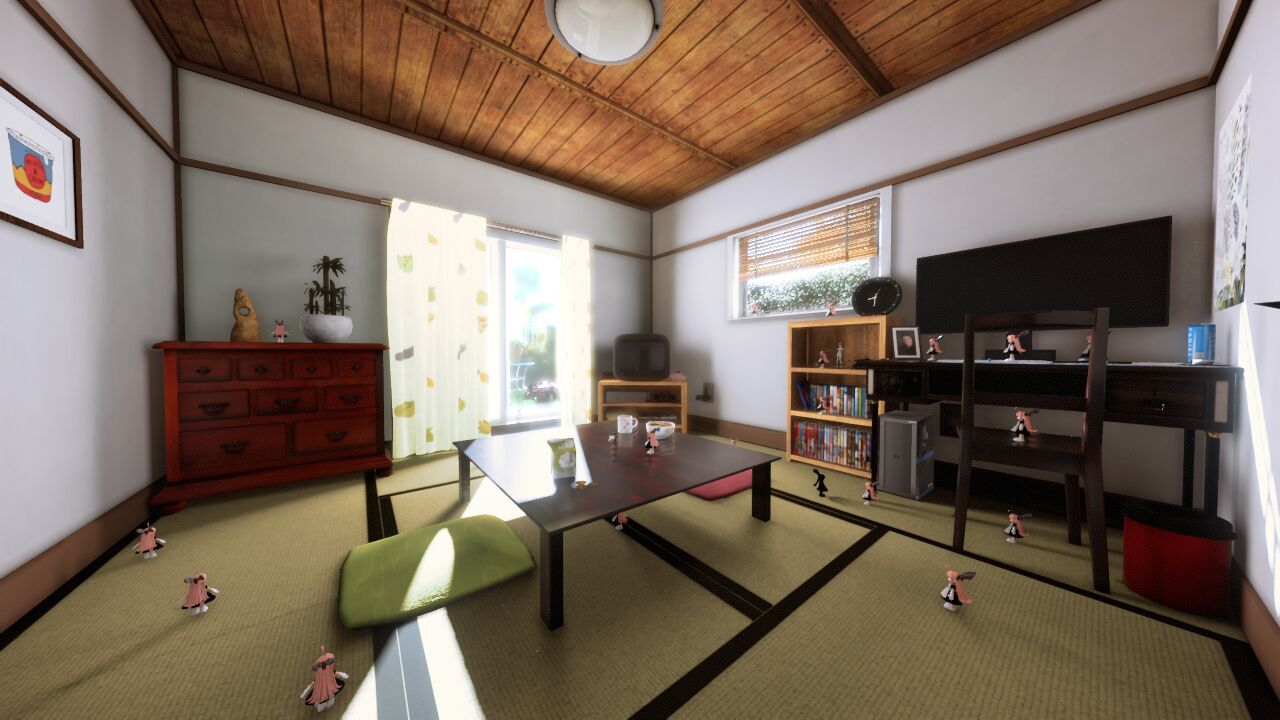
The final result
Progression Blog
Unreal already had a solution for ambient shadows, their capsule shadows, but Unity was not planning to address this until at least their future graphics rewrite has launched (which ended up being the Scriptable Render Pipelines and it’s finally on the roadmap in 2022).
My first thought was to add a 2nd light that ignores the room’s walls so there would always be a shadow casting light on the Player. This would look pretty unnatural though if the Player was twice as bright as everything else.
Next I tried to see if the Asset Store had any free plugins for this. I did find one that looked promising but it did not work the way I needed to.
Shadow blob test
What used to be common in older games was a shadow blob. A circular shadow decal projected below the Player. This was progress but a plain ol’ circle is kinda cheap looking. I can do better.
Standard Shader ambient occlusion texture example
There’s still also the problem of how do I “switch it off” in direct light.
The ambient occlusion works this way in Unity’s standard shader but you can’t have a transparent object with just an AO texture on it. I also couldn’t figure out how to replicate this behaviour in my own custom shader instead. I’ll put this off till later.

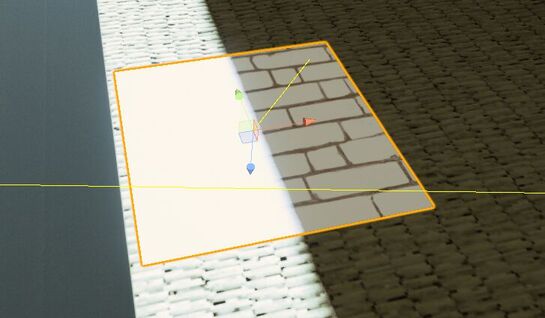
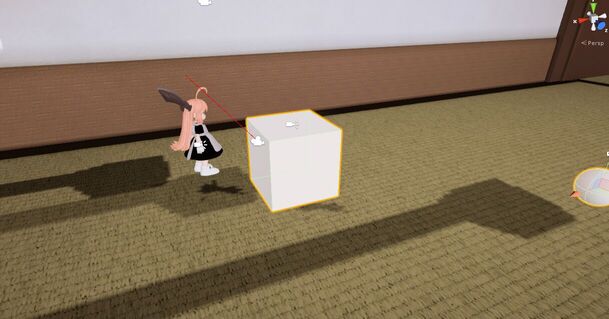
The shadow decal getting clamped to the edge of the floor object
Back to the blob shadow. I’m using Unity’s Projector component for this.
To get a more humanoid shadow, I’m using a second camera that follows the Player around. The camera is set to only render tagged dynamic objects onto a white background. The camera renders to a texture that I plug into the Projector in multiply mode (so the white background is transparent).
The Projector component is surprisingly finicky. Shadows that hit the Projector bounds end up getting stretched to the end of the floor object.
It works by redrawing the floor a 2nd time with the shadow on top, which might end up being pretty computationally expensive with how complex modern shaders are. It was originally created for a different era after all.
If performance ever became a problem I would’ve switched to a deferred-shading based decal projector. Though, at the time Unity did not have one of these built-in and I would’ve had to buy one off the Asset Store.
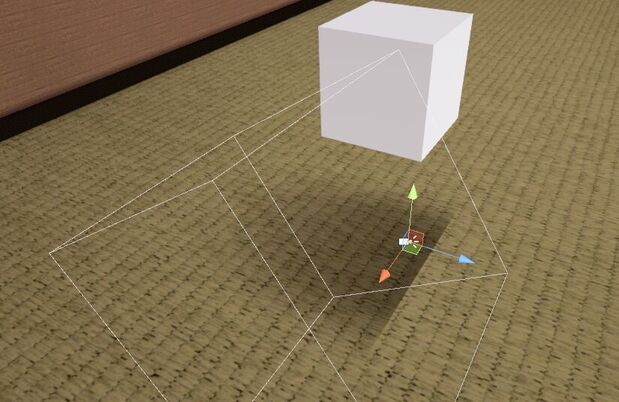
Using the Projector in orthographic projection mode had its own set of bounds problems.

Using the Projector in perspective projection mode instead was tricky to calibrate.
Move the camera/projector too close to the Player and the shadow clips the bounds of the projection. Too far and it projects onto things in front of the Player, also most of the render texture would be empty space.
Plus having to calibrate the bound sizing, camera angle and position, camera fov etc.
Took a while to get something just right.
As I added more dynamic objects to test I ran into a new problem.
Each object’s shadow camera can see the other objects too, since they’re all tagged the same thing.
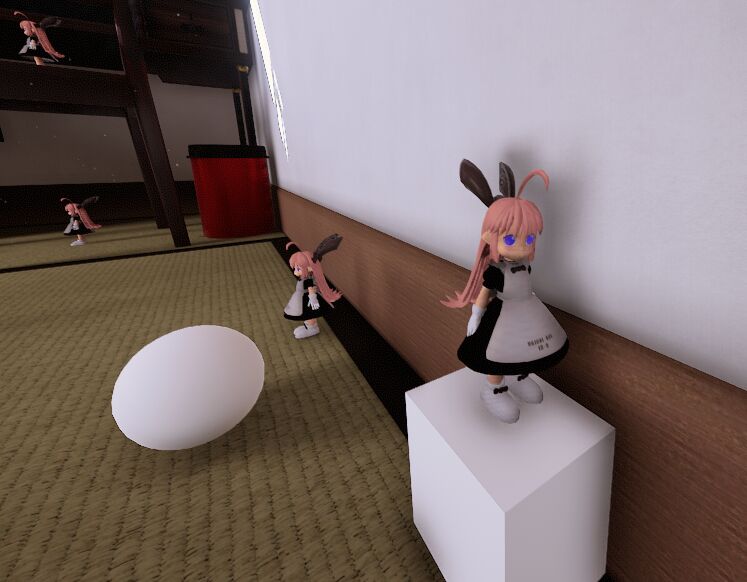
Taking inspiration from Unreal’s capsule shadows, I gave dynamic objects their own shadow models that the camera’s exclusively render. These tagged occluders are only seen by the shadow cameras, this way I can solve the multiple camera problem by only enabling the occluders during their camera’s render phase and disable them again after.

2B…
Capsules and spheres are enough to approximate the humanoid shape since the shadow is going to be blurred anyway.
It works!
After some testing, a render texture of 642 is good enough even after blurring it.
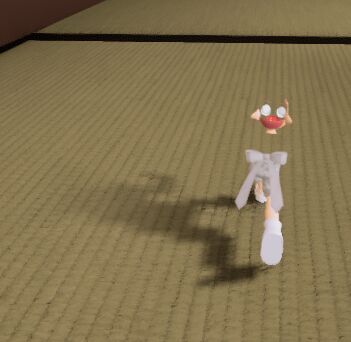
Shadow direction test
For directionality, the camera/projector aligns itself with the patio door. This also has the effect of elongating the shadow the further the object is from the door.
I use a volume system, similar to the Post-Processing Stack’s, to detect when an object is near the window sill or on the computer desk. When they are, the camera will use the window position instead of the door.
It’s a pretty convincing effect but this does mean this shadow system might not work well as a generic solution in other scenes.

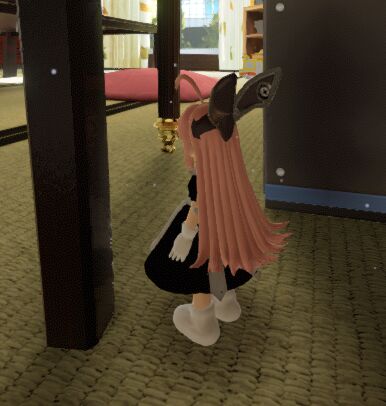
As for my earlier problem of trying to figure out how disable it in direct light…
It ended up not being a problem in practice. The extra soft shadow on top of the direct hard shadow is barely noticeable.
Maybe it’s over-engineered and there’s an actual real proper solution to this but the final result came out looking pretty good.